Apple and Berry Galettes

Spring has finally come to Boston; it came slowly and tentatively, but I think I can safely say it is actually here. Precipitation no longer carries the chance of being snow. It's windy and still chilly, but the wind has finally lost its bite. I've gotten used to it still being light outside after I finish my dinner, and I love waking up to sunlight streaming through my windows (well, on the three days of the week when it actually is sunny).

Of course though, Boston couldn't go into spring without a bit of mockery; it also happens to be final exam season. I'm taking a break from working on a Spanish paper right now to do this post (As you might guess, it's not going as fast as it should be...hence the posting two days late).

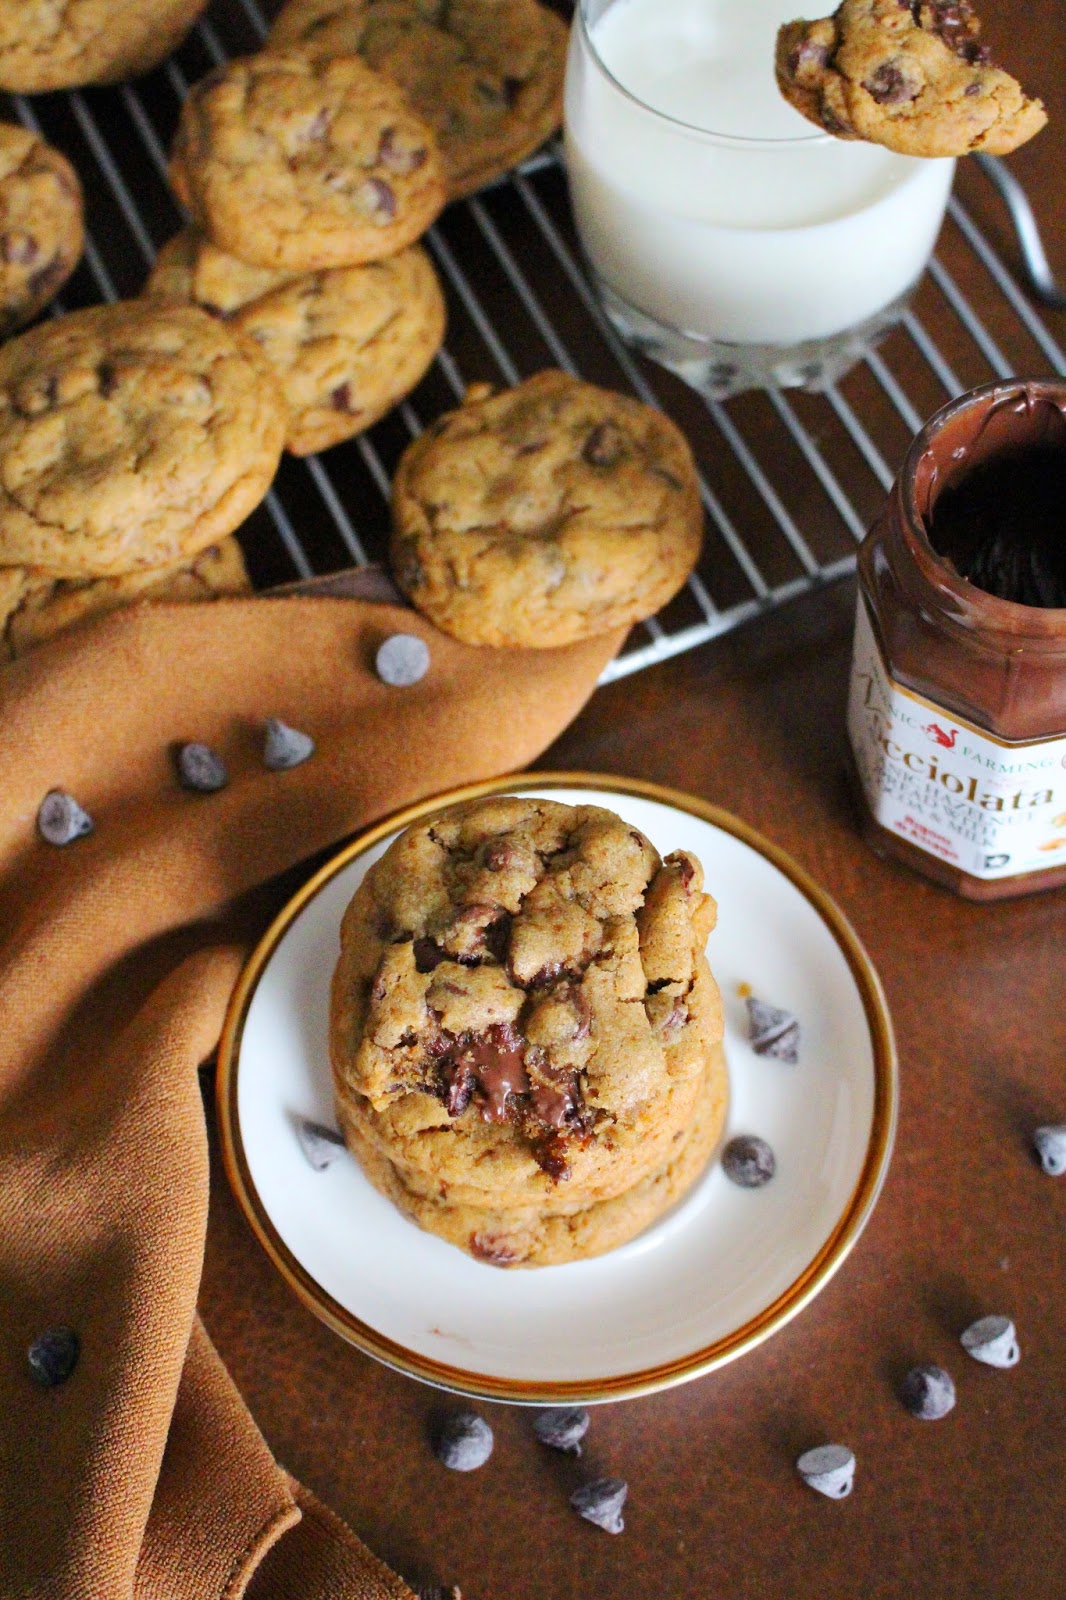
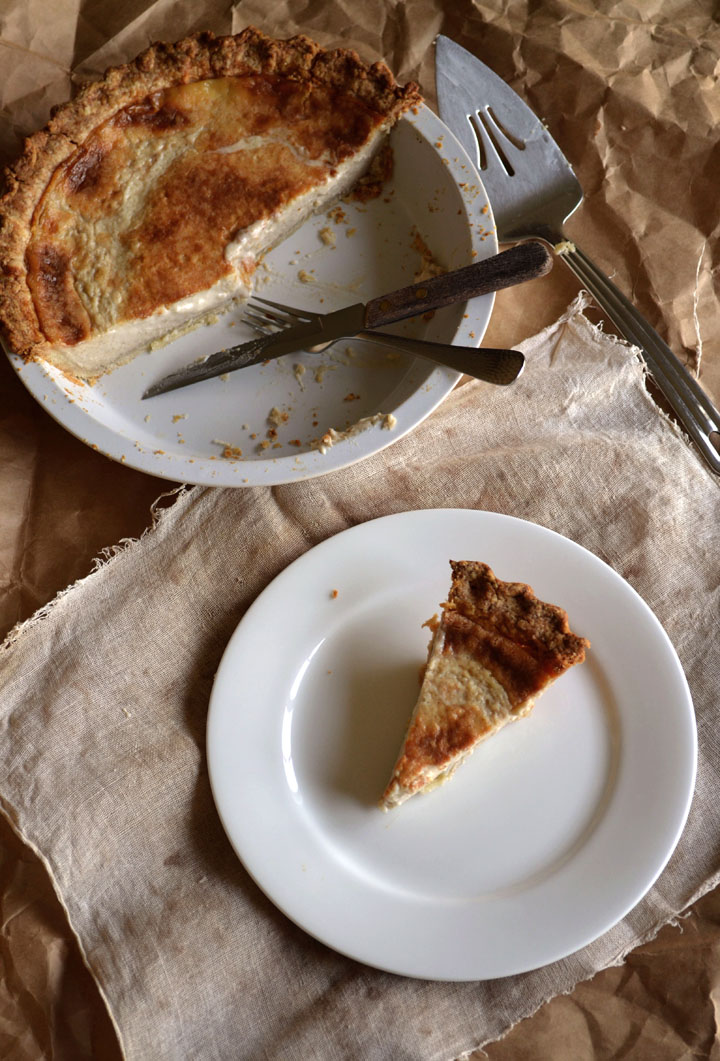
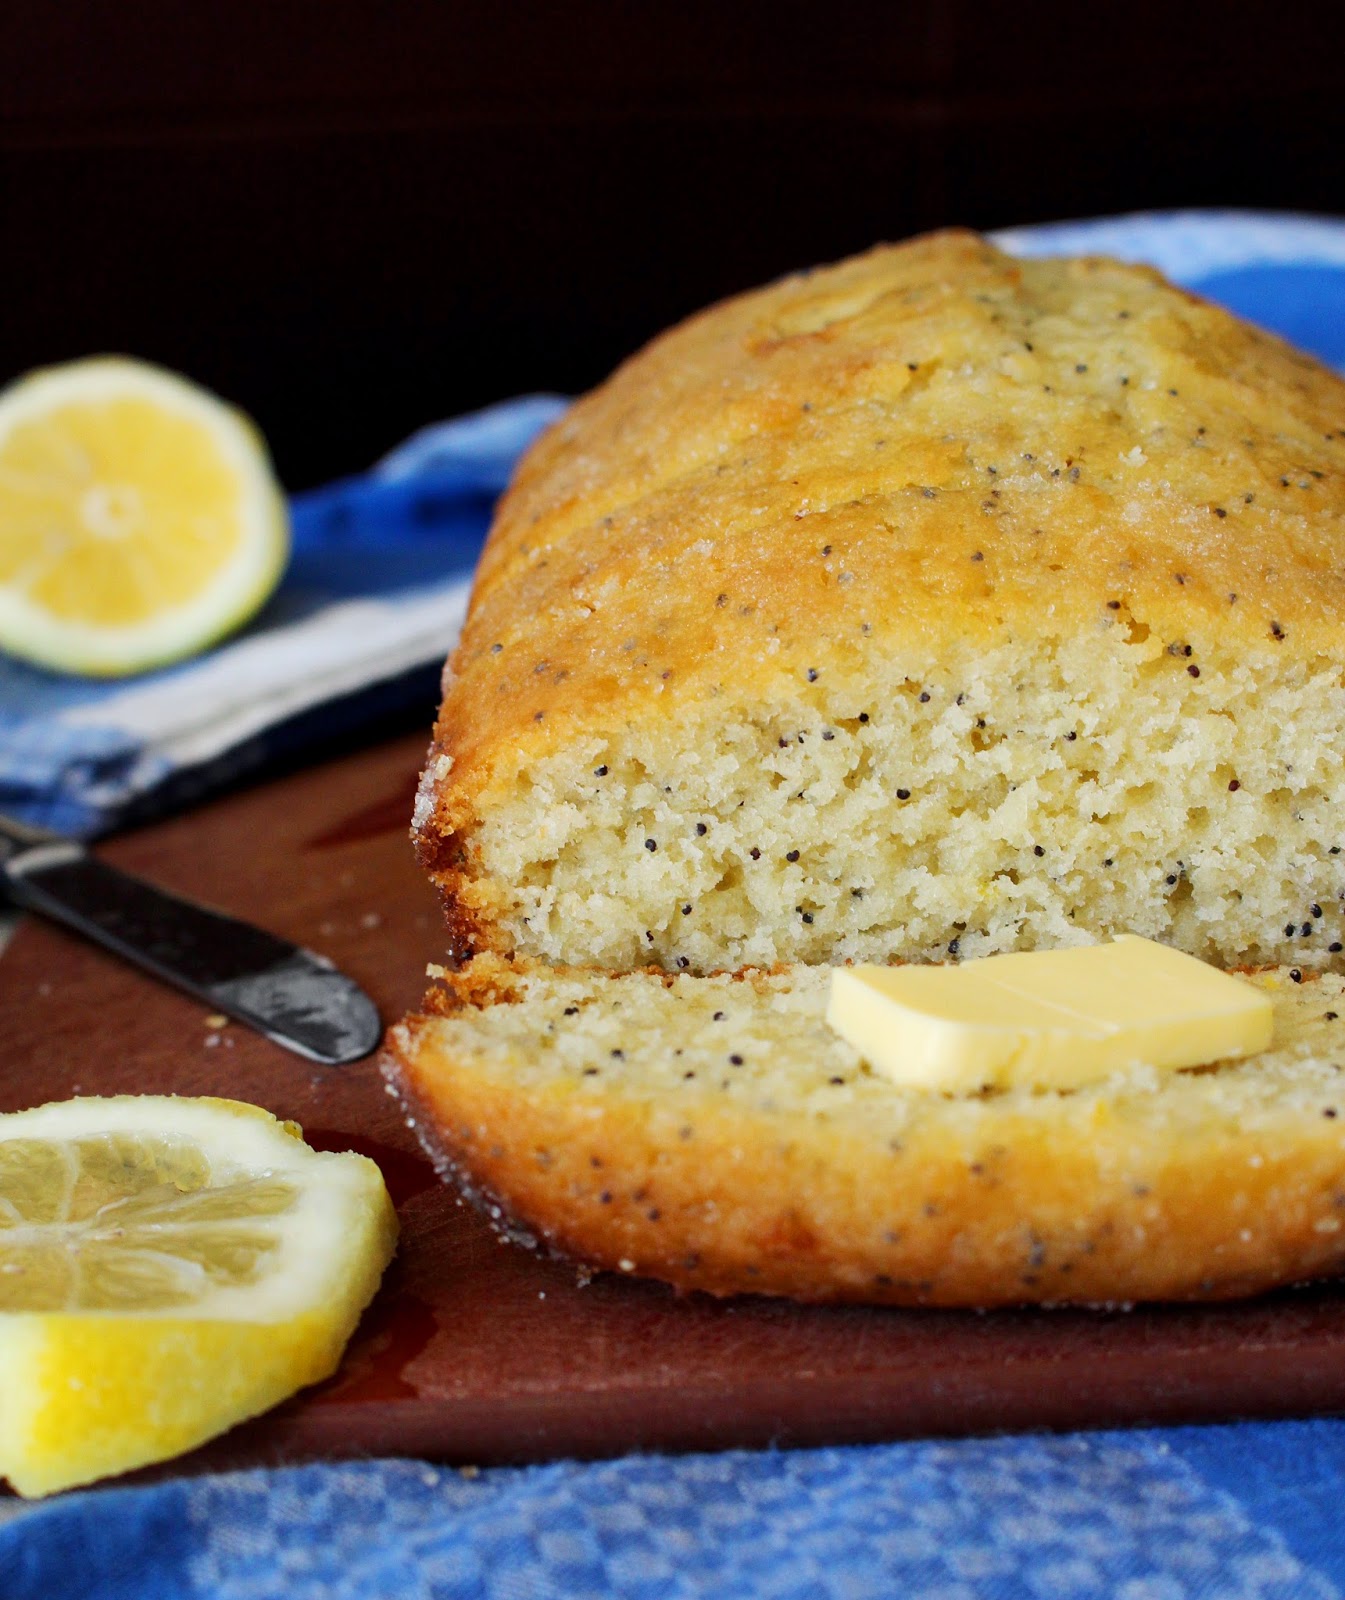
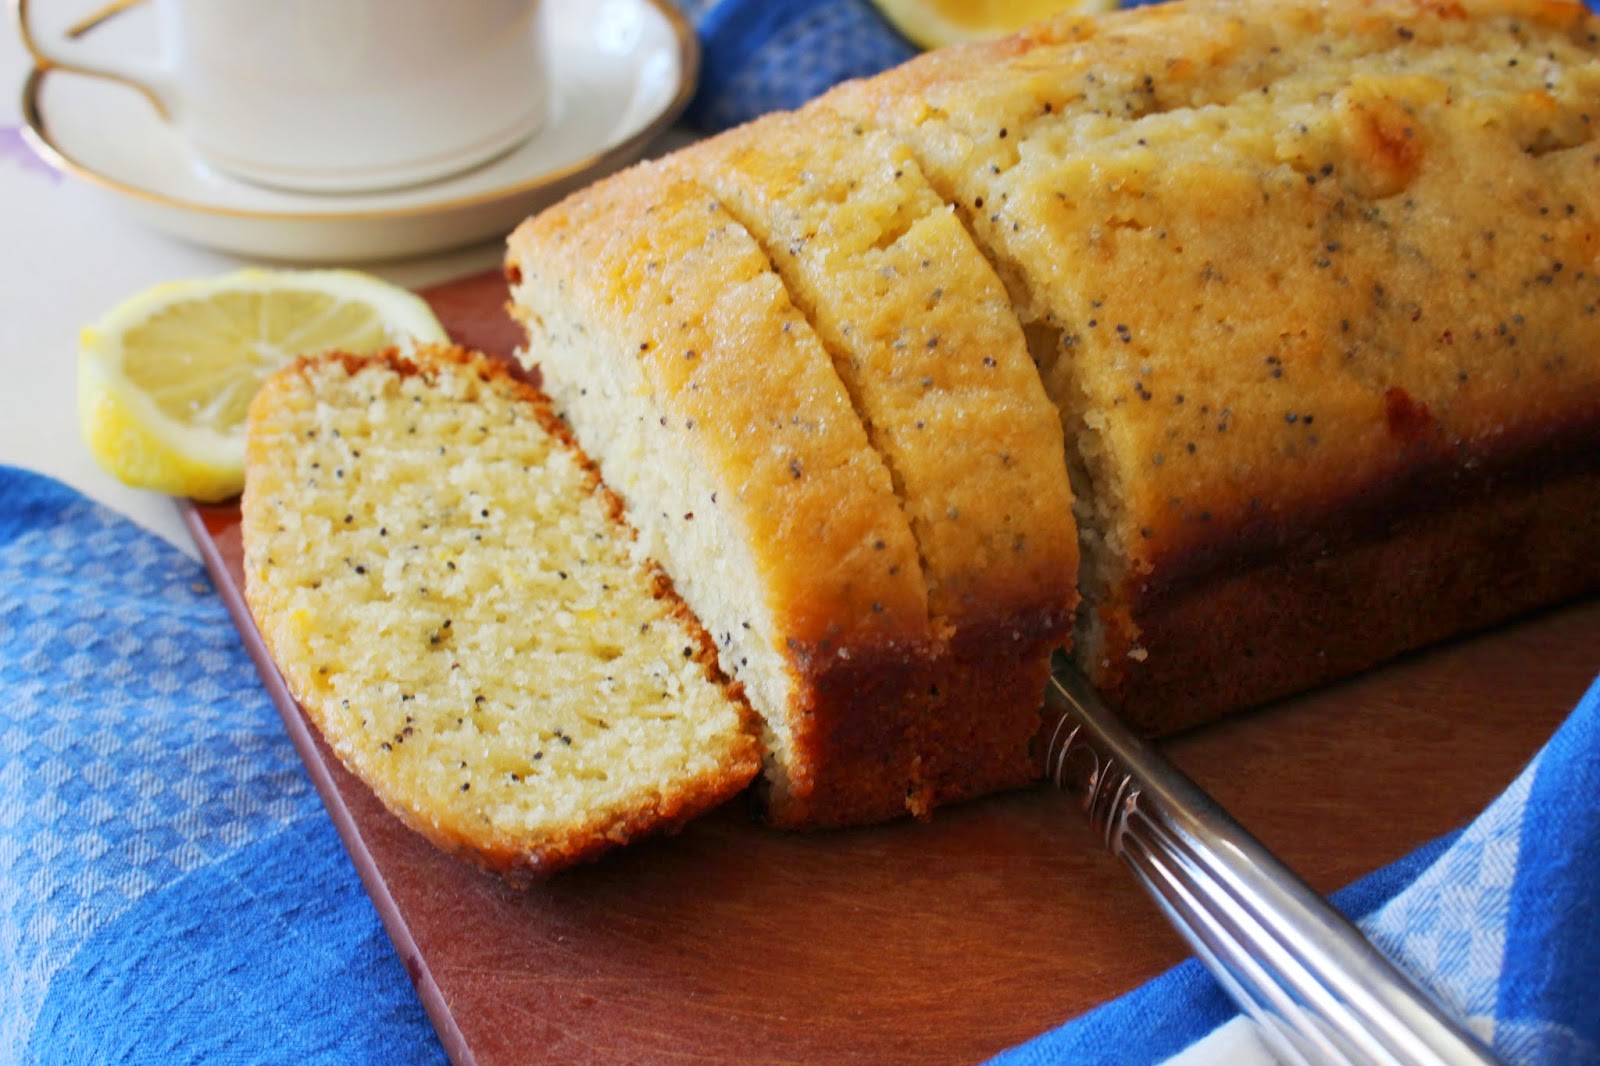
Anyways, I made these galettes on a spring day a week or two ago for a brunch with designers at the newspaper. There's nothing particularly remarkable about them--I mean, they're delicious, but they're not creative or innovative or particularly unique.

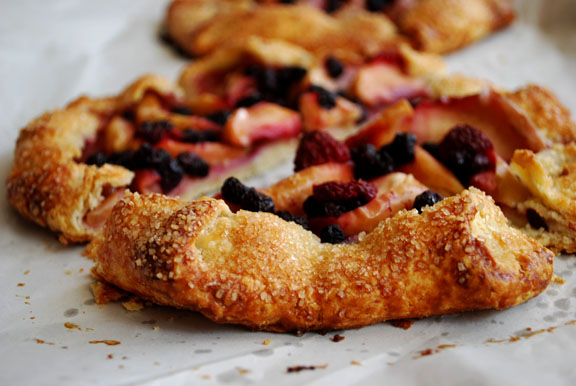
But that's okay, because that wasn't what I was looking for. I like that it's humble and simple, letting the few basic ingredients shine through, making it a perfect treat to enjoy on a sunny, slightly cold, very busy, cheerfully spring-like Sunday afternoon.

Enjoy!

Caroline

Apple and Berry Galettes

Ingredients
For the Crust
2 ½ cups all-purpose flour
¼ cup granulated sugar
1 teaspoon salt
1 cup butter, cold and cubed
½ cup buttermilk, very cold

For the Fruit Filling
1 cup berries, such as strawberries, raspberries, or blueberries
4-5 medium apples, cored and thinly sliced
2 tablespoons all-purpose flour, divided
2 tablespoons granulated sugar, divided
2 teaspoon lemon juice, divided
½ teaspoon cinnamon

Assembly
1 egg
1 tablespoon buttermilk
¼ cup raw sugar, for sprinkling (granulated can be substituted)


Directions
Make the crust. Mix together the flour, sugar, and salt. Add the cubed butter, and either with your hands or in a food processor (NOT with your hands IN the food processor!), work the butter into the flour mixture until it resembles coarse crumbs.

Mix in the buttermilk 1 or 2 tablespoons at a time, adding just enough so that the dough comes together. It should be very crumbly.

Gather the dough together and cover with plastic wrap. Refrigerate for at least one hour, or overnight.

Mix together the apples, 1 tablespoon of flour, 1 tablespoon of sugar, 1 teaspoon lemon juice, and the cinnamon. In another bowl, mix together the berries, 1 tablespoon of flour, 1 teaspoon lemon juice, and 1 tablespoon of sugar.

Divide the dough into 4 equal pieces. Place one piece of the dough between two pieces of wax paper or plastic wrap. Roll the dough into about a 10-inch circle.

Take off the top piece of wax paper, and lay the circle on a greased baking sheet. Peel off the other piece of paper. Arrange about ¼ of the apple slices on top of the dough. Add about ¼ cup of berries. Fold the dough around the fruit.

Repeat for the other 3 pieces of dough.

Refrigerate the galettes for at least 30 minutes before baking.

Preheat the oven to 375 degrees Fahrenheit.
Whisk together the egg and buttermilk, and brush the mixture over the crust of the galettes. Sprinkle with raw sugar.

Bake at 375 for 15 minutes, then lower the heat to 350 and bake for another 15 - 20 minutes, until the crust is golden brown. Let cool and enjoy!

Stuffed Chocolate Chip Cookies

These cookies are truly a legend to behold. If not for the tender crumb and crispy edges, then surely because of the warm gooey chocolate hazelnut center. Nutella, you may be wondering? ...No, it's even better. Nocciolata gave us some free samples of their product to use in baking (or plain eating with a spoon). You may recall Caroline using this organic hazelnut spread in her exquisite and beautifully braided bread, and now, I present to you...perhaps a less daunting endeavor that incorporates Nocciolata (or any filling of your choice, for that matter).

Cookies! (Read on.)

I really am a firm believer of cookies dipped in milk. It makes the experience that much more divine.

Here's a close up of the Nocciolata spread that I bet you were dying to take a look at. It took every ounce of my self-control not to eat all of the Nocciolata in order to have enough for the cookie filling. Which is--let's not kid ourselves--basically the whole point of making these cookies.

The Nocciolata filling really takes spotlight in these cookies. Be generous with the dollops. You'll thank me later.

Really, how could you not drool after seeing these photos? I'm daydreaming of when I can make these cookies again. They're soft and tender straight from the oven, with an intense gooey chocolate hazelnut center. Let them cool to room temperature, and it gets even better. The cookies acquire a soft and chewy texture that'll last for days afterward, and that's truly a selling point for me (along with the addicting lingering aroma of a cookie that lures helpless cookie-lover victims from close and afar).

Not that I'm saying these cookies will be around for that long though. As an experiment, I tried saving one single cookie in a jar for as long as possible, prohibiting my brother or anyone else from eating it. It was a pretty excruciating experience for everyone involved, staring at the one lone piece of cookie in the jar for all those days. But hey, who said it's easy to get the facts? Now you know.

These cookies smell amazing. More than the usual amazing of a cookie smell. I think it's the Organic Coconut Sugar from Trader Joe's that I used in this recipe. I've never smelled anything quite like it, and I think I could smell the sugar all day. Heh.

Cheers,
Monica


Stuffed Chocolate Chip Cookies

Adapted from Love & Olive Oil, originally from Savory Sweet Life

Yield: 20 cookies | Time: 25 minutes

Ingredients
1/4 cup Nutella, cookie butter, or filling of choice
1/2 cup (1 stick) salted butter, softened
1/4 cup granulated sugar
3/4 cup brown sugar
1 egg
1 teaspoon pure vanilla extract
1 1/2 cup (12 ounces) all-purpose flour
1/2 teaspoon baking soda
3/4 teaspoon baking powder
1 cup chocolate chips


Directions
Preheat oven to 375 degrees F and line baking sheets with parchment paper.

Cream butter, sugar, and brown sugar for 3 minutes on medium-high speed until light and fluffy. Add eggs and vanilla. Then add baking soda, baking powder, salt, and flour. Mix by hand or on low speed until combined. Stir in chocolate chips.

Scoop a heaping tablespoon of dough (or medium cookie scoop). Divide and place half of dough ball on prepared baking sheet. Drop a generous dollop of desired filling into center, then top with the other half of dough. Press to seal in the filling. Arrange on baking sheet with at least 2 inches of space between each cookies. (They will spread while baking.) Bake for 10 to 11 minutes, or until centers are just set and edges are golden. Cool, serve, and enjoy!

Sugar Cream Pie

There aren't very many Midwesterners here at Harvard, and especially not that many people from Indiana. I think my state sends maybe ten or so every year; I don't know the exact statistics, but there's few enough of us that I know most of them by name, even if not personally, since I get the "Oh, you're from Indiana. You must know xyz, they're from Indiana too" quite often. "Oh, I've never met anyone from Indiana" happens a lot too.

My personal favorite is getting people to believe me when I say that my high school has 4800 people because there's really only the one high school in Indiana, seeing as we're very rural and all. (Some kids have to wake up at 5 to catch the bus....) I can't complain though, because God knows I've spent enough time making fun of Indiana.

But I think I've become a lot more proud of my state since I got to Boston, and met a couple of East Coast snobs. Yes, it's boring, yes, there's a lot of corn, yes, it's very, very Republican, and yes, I used to watch the cows graze in the field across the street while on the swings during recess. But somebody has to defend it.

And if nothing else, Indiana gave the world this gorgeous sugar cream pie. (Our state pie, in fact. And yes, we have a state pie. And a state rifle, apparently....) I don't know how common it is outside of Indiana, but it's somewhat similar to buttermilk or chess pie from the South.

I think the name sums it up pretty well: it's sweet and custardy, ever so lightly spiced, and with a caramelized top. It's also incredibly simple. There's no tempering of eggs or anything fussy like that to get this smooth, creamy filling. You just mix together all the ingredients and pour it into the crust, and then sprinkle some cinnamon sugar on top.

So give it a try. It's so easy there's no excuse not to. (You could even use a refrigerated pie crust if you don't want to make one!) And then take a big bite and let the creamy custard melt on your tongue and imagine corn fields and soy bean fields and the smell of cow manure.

Just kidding on that last part...but really, you should make it. You'll be glad you did.

Hoosier pride.
Caroline

Sugar Cream Pie

Click here for the printer-friendly recipe.
Yields: 1 9-inch pie | Adapted from Country Living

Ingredients
Pie Crust*
1 ¼ cups all-purpose flour
2 tablespoons granulated sugar
½ teaspoon salt
½  cup butter, cubed and very cold
¼ cup buttermilk, very cold

Filling
1 ½ cup heavy cream
1 cup whole milk
2 tablespoons light brown sugar
¾ cup granulated sugar
1 teaspoon vanilla extract
1/2 cup all-purpose flour

Topping
2 tablespoons granulated sugar
¼ teaspoon cinnamon


Directions
Make the crust. Whisk together the flour, sugar, and salt.

Add the butter. Using your hands or a pastry cutter, work the butter into the flour until it is in small pieces. Alternately, place the flour in a food processor, and the butter, and pulse until same result is achieved.

Mix in the buttermilk, one or two tablespoons at a time until the dough barely comes together.Gather the dough together in a ball and refrigerate for at least an hour, or overnight.

Preheat the oven to 350 degrees Fahrenheit. Whisk together all the ingredients for the filling.

Roll out the dough into a 12-inch circle, or so that when if you place the pie plate face-down on the dough, there should be about an inch of dough around the edge. Place the dough into the pie plate, and trim and shape the edges.

In a large mixing bowl, whisk together all the ingredients for the filling. Pour the filling into the pie plate. Mix together the sugar and cinnamon for the topping, and sprinkle over the top of the pie. Wrap the edges of the pie in tin foil, covering the crust so that it doesn’t brown too much in the oven.

Bake the pie for about 1 hour - 1 hour and 15 minutes, or until the center of the pie is just set. Remove the foil around the pie after 30 minutes.

Almond Poppy Seed Bread with Lemon Glaze

Finally...spring. Took you long enough to chase away the winter. Now, take out your bread pan, and get ready to make this Almond Poppy Seed Bread with Lemon Glaze. For short, I like to simply call it Lemon Poppy Seed Bread.

Lemon Poppy Seed Bread is a lovely sort of treat. Perfect along with tea, or coffee, or breakfast, or brunch. It's a refreshing taste of lemon, exuberant crunch of the lemon sugar glaze, and comforting allure of the fluffy almond bread crumb. And the poppy seeds! So pretty.

I'd imagine this bread would go splendidly as a dessert to go after Caroline's Asparagus & Gorgonzola Risotto. To be shared and enjoyed under the sunshine, during a picnic or teatime, or during a calm rainy day with a mug of steaming tea or freshly ground coffee. If you have mini loaf pans, this would make a lovely present for friends or family. I loved this bread. Almost as much as this bread, which is equally as moist, fluffy, and comforting.

Give it a try, and please do let me know what you think!

Cheers,
Monica

Almond Poppy Seed Bread with Lemon Glaze

Tastes like spring, a comforting aroma, quick to make, and a joy to eat and share
Adapted from A Farm Girl’s Dabbles
Yield: 1 loaf, 10 servings | Time: 1 hour 15 minutes

Ingredients
1 1/2 cup all-purpose flour
1 cup granulated sugar
1/2 teaspoon salt
1 teaspoon baking powder
1 tablespoon poppy seeds
3/4 cup whole milk
1/2 cup vegetable oil (or 1/4 cup applesauce and 1/4 cup oil)
2 eggs, slightly beaten
1 teaspoon pure vanilla extract
1 teaspoon almond extract
2 tablespoons freshly grated lemon zest

For the Lemon Glaze:
1/4 cup granulated sugar
2 tablespoons freshly squeezed lemon juice
1/4 teaspoon pure vanilla extract
1 tablespoon unsalted butter, melted and slightly cooled


Directions
Preheat oven to 350 degrees F and prepare loaf pan with non-stick spray or butter.

Combine flour, sugar, salt, baking powder, and poppy seeds. Add milk, vegetable oil, eggs, vanilla extract, almond extract, and lemon zest. Mix by hand or on low speed until combined. Pour batter into prepared pan and bake for 45 to 50 minutes, or until toothpick into the center of the loaf comes out batter-less.

While bread is baking, prepare the lemon glaze. Combine all glaze ingredients. When loaves are removed from oven, immediately brush glaze over the warm bread tops. Cool, then run knife around edges of pan. Invert, to remove from pan. Serve & enjoy!