
I'm in that funny floating state of sleep-deprivation at the moment, after tumbling into bed around four in the morning (I seem to write best in the late, late hours of the night, and have yet to convince my brain otherwise). The much-anticipated senior spring will come, I'm sure, but at the moment, I'm bouncing between a mild frenzy to finish writing my thesis and gnawing worry over that dreaded question, "What am I doing after graduation?"
I can't say I'm in the mood for any sort of Valentine's Day baking at the moment, but I seem to still want chocolate. Chocolate truffles are a nice study break, easy to make in my microwave without needing to leave my room. I don't like the pressure that Valentine's Day seems to put on all parties involved--on the wallet, on couples to make some sort of romantic gesture, on single people to justify our single-ness--so I'll just say that these are perfect for sharing and gifting, impressive-looking without requiring much effort. (For a more quantified measure of romantic, effortless desserts, I'll refer you to Monica's and my very scientific post from last year).


The only remotely tricky part of this recipe is tempering the chocolate for coating the truffles, but it really only requires one more bowl and two extra minutes of your time than melting chocolate the normal way. You could of course skip this step, but tempering chocolate gives it that classic shiny finish, and allows it to be solid at room temperature.
My words all seem to have gone into the 15,000 for my thesis and I can't string together anything elegant to say right now, so I'll say it inelegantly: these truffles made me really happy. It was nice to flex my candy-making muscles, and see that special ability of a box of nice chocolates to bring joy.
Caroline
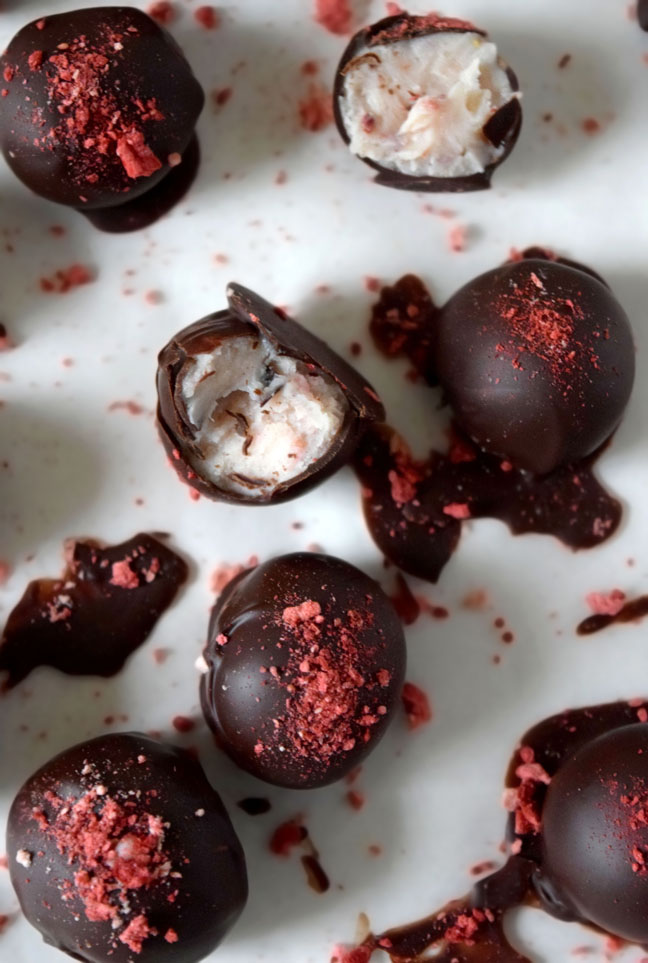
Strawberry White Chocolate Truffles
Yields 18-20 truffles
Ingredients
⅓ cup heavy cream
1 tablespoon butter
8 ounces good quality white chocolate, roughly chopped
pinch of salt
¼ cup finely ground freeze-dried strawberries
For Assembly
5 ounces good quality dark chocolate
1 tablespoon finely ground freeze-dried strawberries, for sprinkling
Directions
Place the heavy cream, butter, and white chocolate into a microwaveable bowl. Microwave on medium power for about 90 seconds, or until the chocolate is melted. Make sure to stop every 30 seconds to give it a good stir or else the white chocolate might burn.
Stir in the salt and freeze-dried strawberries. Refrigerate for 3-4 hours, or until the mixture becomes very firm.
Scoop out tablespoonfuls of the truffle mixture, and roll them into balls. Place on a lined cookie sheet and refrigerate for another 5 to 10 minutes.
Prepare and temper the chocolate coating (Stick with me here; it’s not nearly as difficult as it sounds!) Place about 4 ounces of the dark chocolate in a microwaveable glass or ceramic bowl, and microwave on medium power for about 90 seconds (or until the chocolate is melted), stopping every 30 seconds to give it a stir.
Place the remaining 1 ounce of chocolate in a glass or ceramic bowl (I think the ability of glass and ceramic to absorb heat yields better results than plastic). Pour the melted chocolate into the bowl with the unmelted chocolate, but don’t worry about scraping out every bit of the chocolate. (In other words, leave a little bit of chocolate in the bowl--you’re going to need it again).
Stir the chocolate until the it has cooled down quite a bit, and most of the remaining 1 ounce of chocolate has melted. When you put a bit of melted chocolate under your bottom lip, it should feel cooler than the surface of your skin. Fish out any bits of unmelted chocolate.
Return all of the melted chocolate to the original bowl, and let the residual heat from the bowl and remaining chocolate to slightly bring up the temperature of the chocolate again. Your chocolate is now tempered and ready for dipping!
With two spoons, dip the truffles in the melted chocolate. Decorate by sprinkling a little freeze-dried strawberry on top of each truffle. You will want to be organized, since the chocolate sets pretty rapidly.
Store in the refrigerator. For a softer truffle, serve at room temperature.